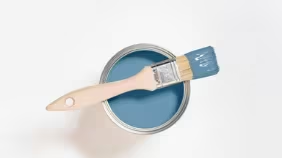
- A tin of each of your chosen paint colours
- Paint roller
- Paint tray
- Measuring tape
- Pencil
- Ball of string
- Chalk
- Masking tape
- Paint brushes
- Scissors
Step 1: Measure up
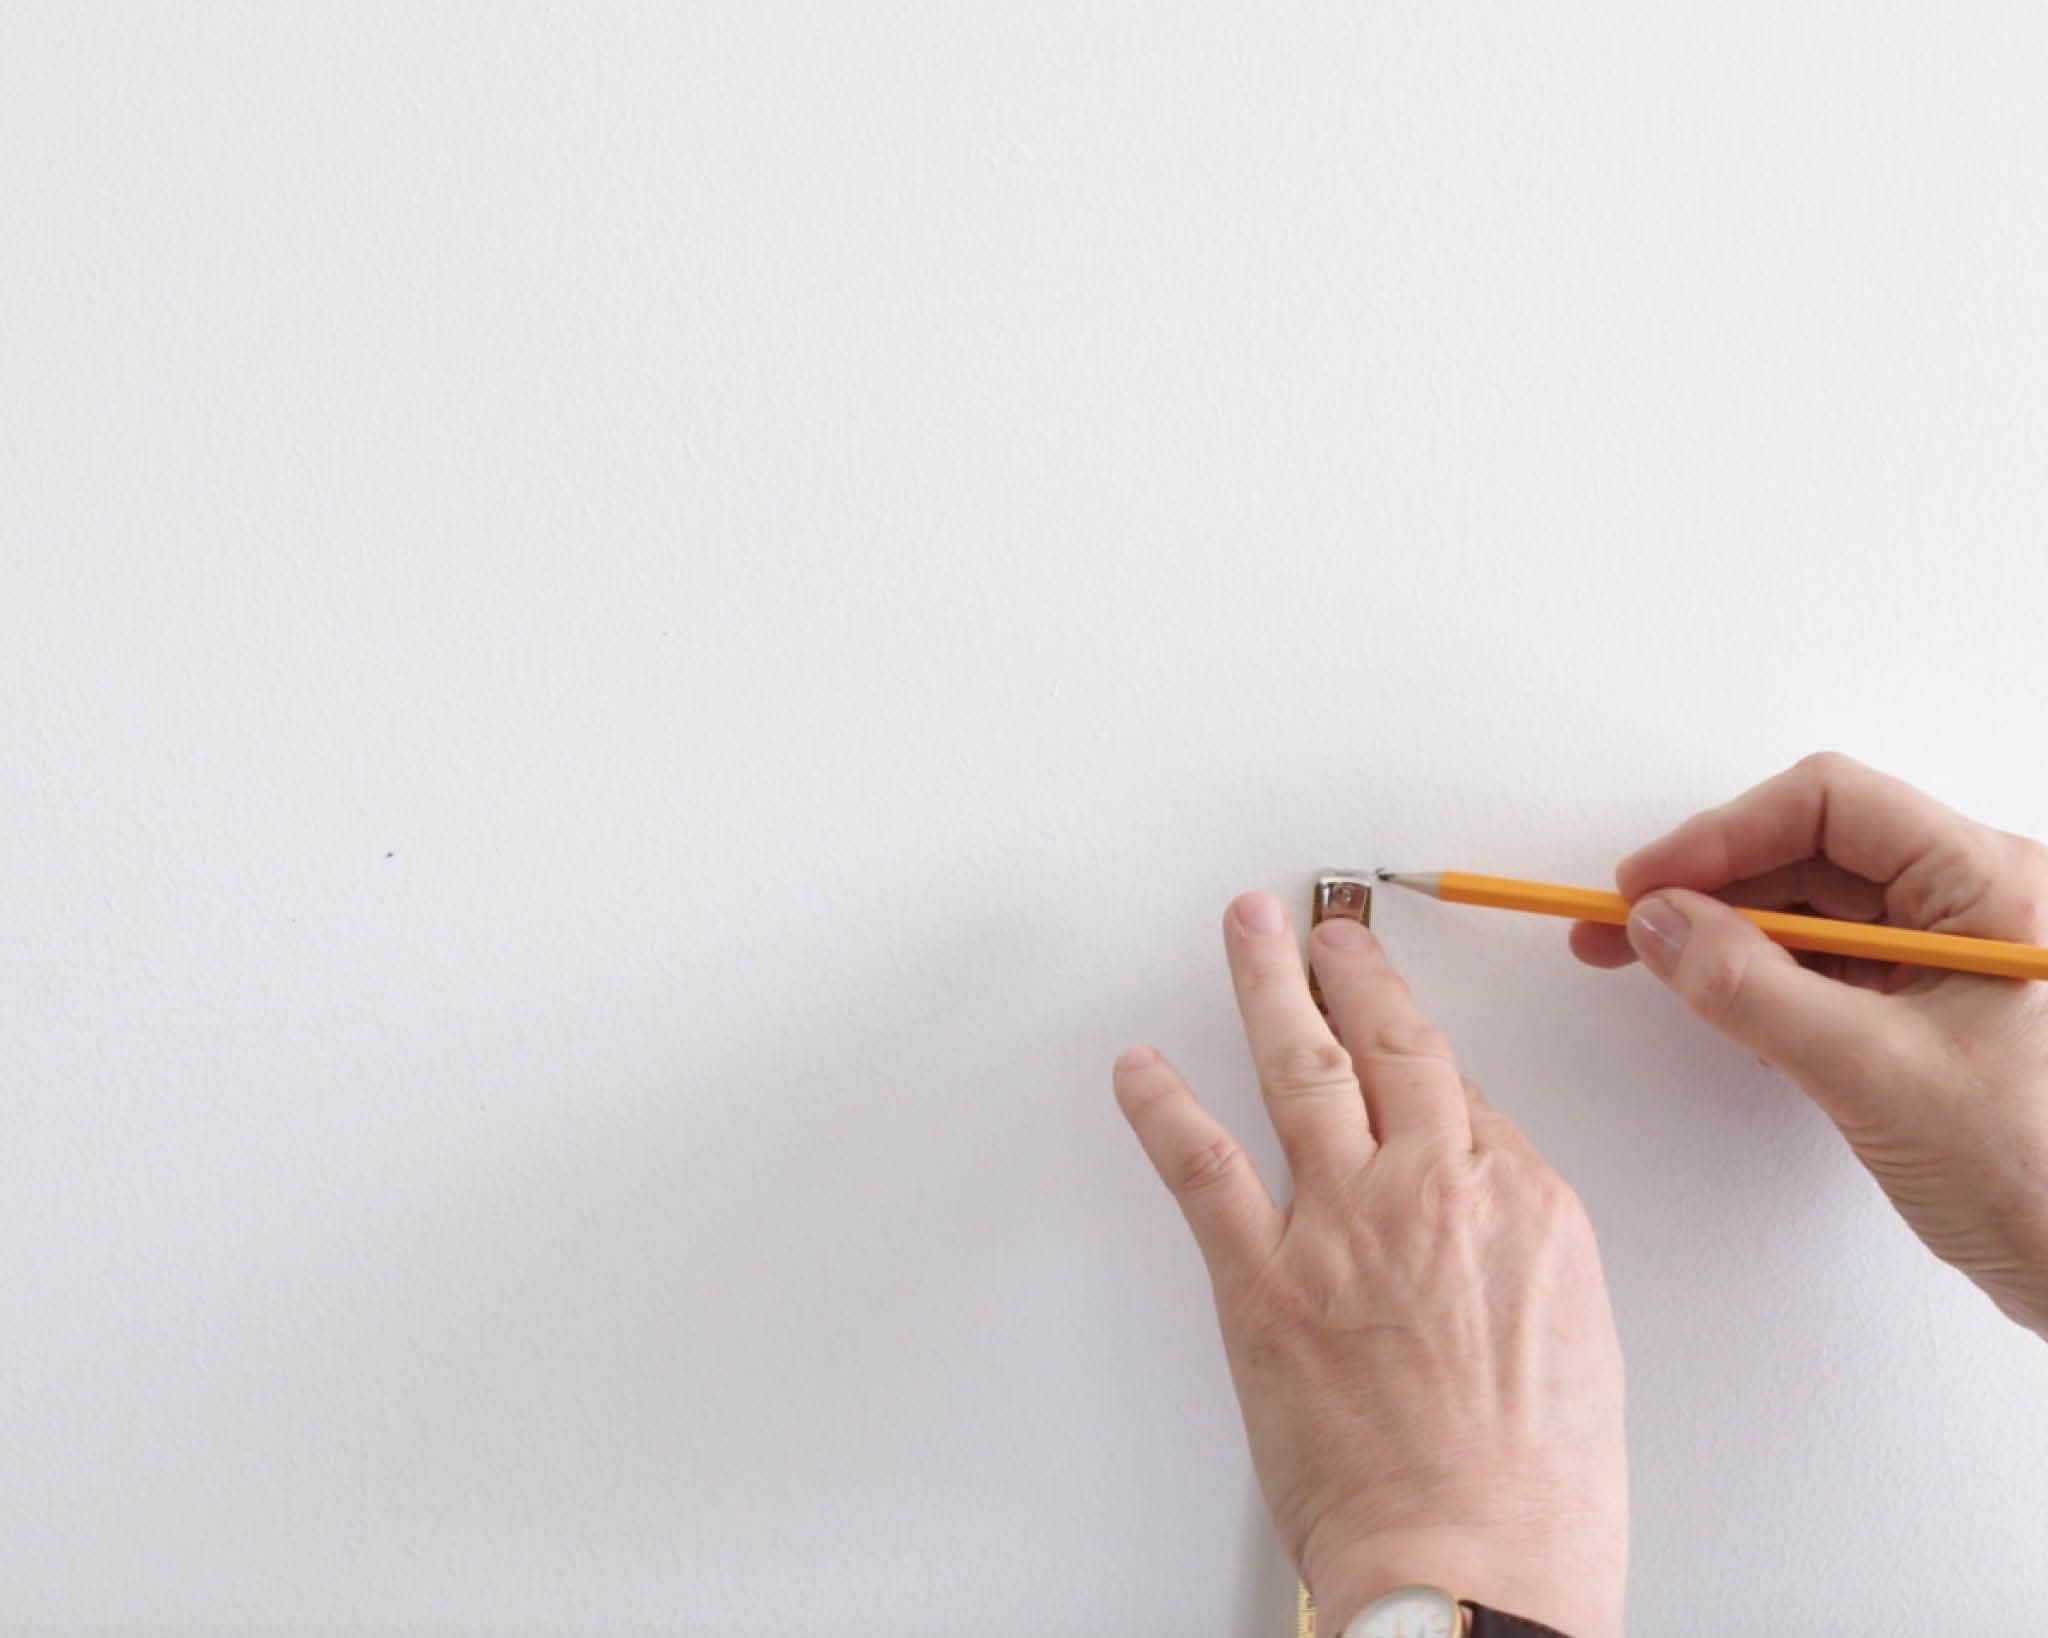
First you need to mark where you want the two colours to meet on your wall. With your measuring tape and pencil, mark the level at regular intervals across the wall.
Step 2: Apply your lighter colour
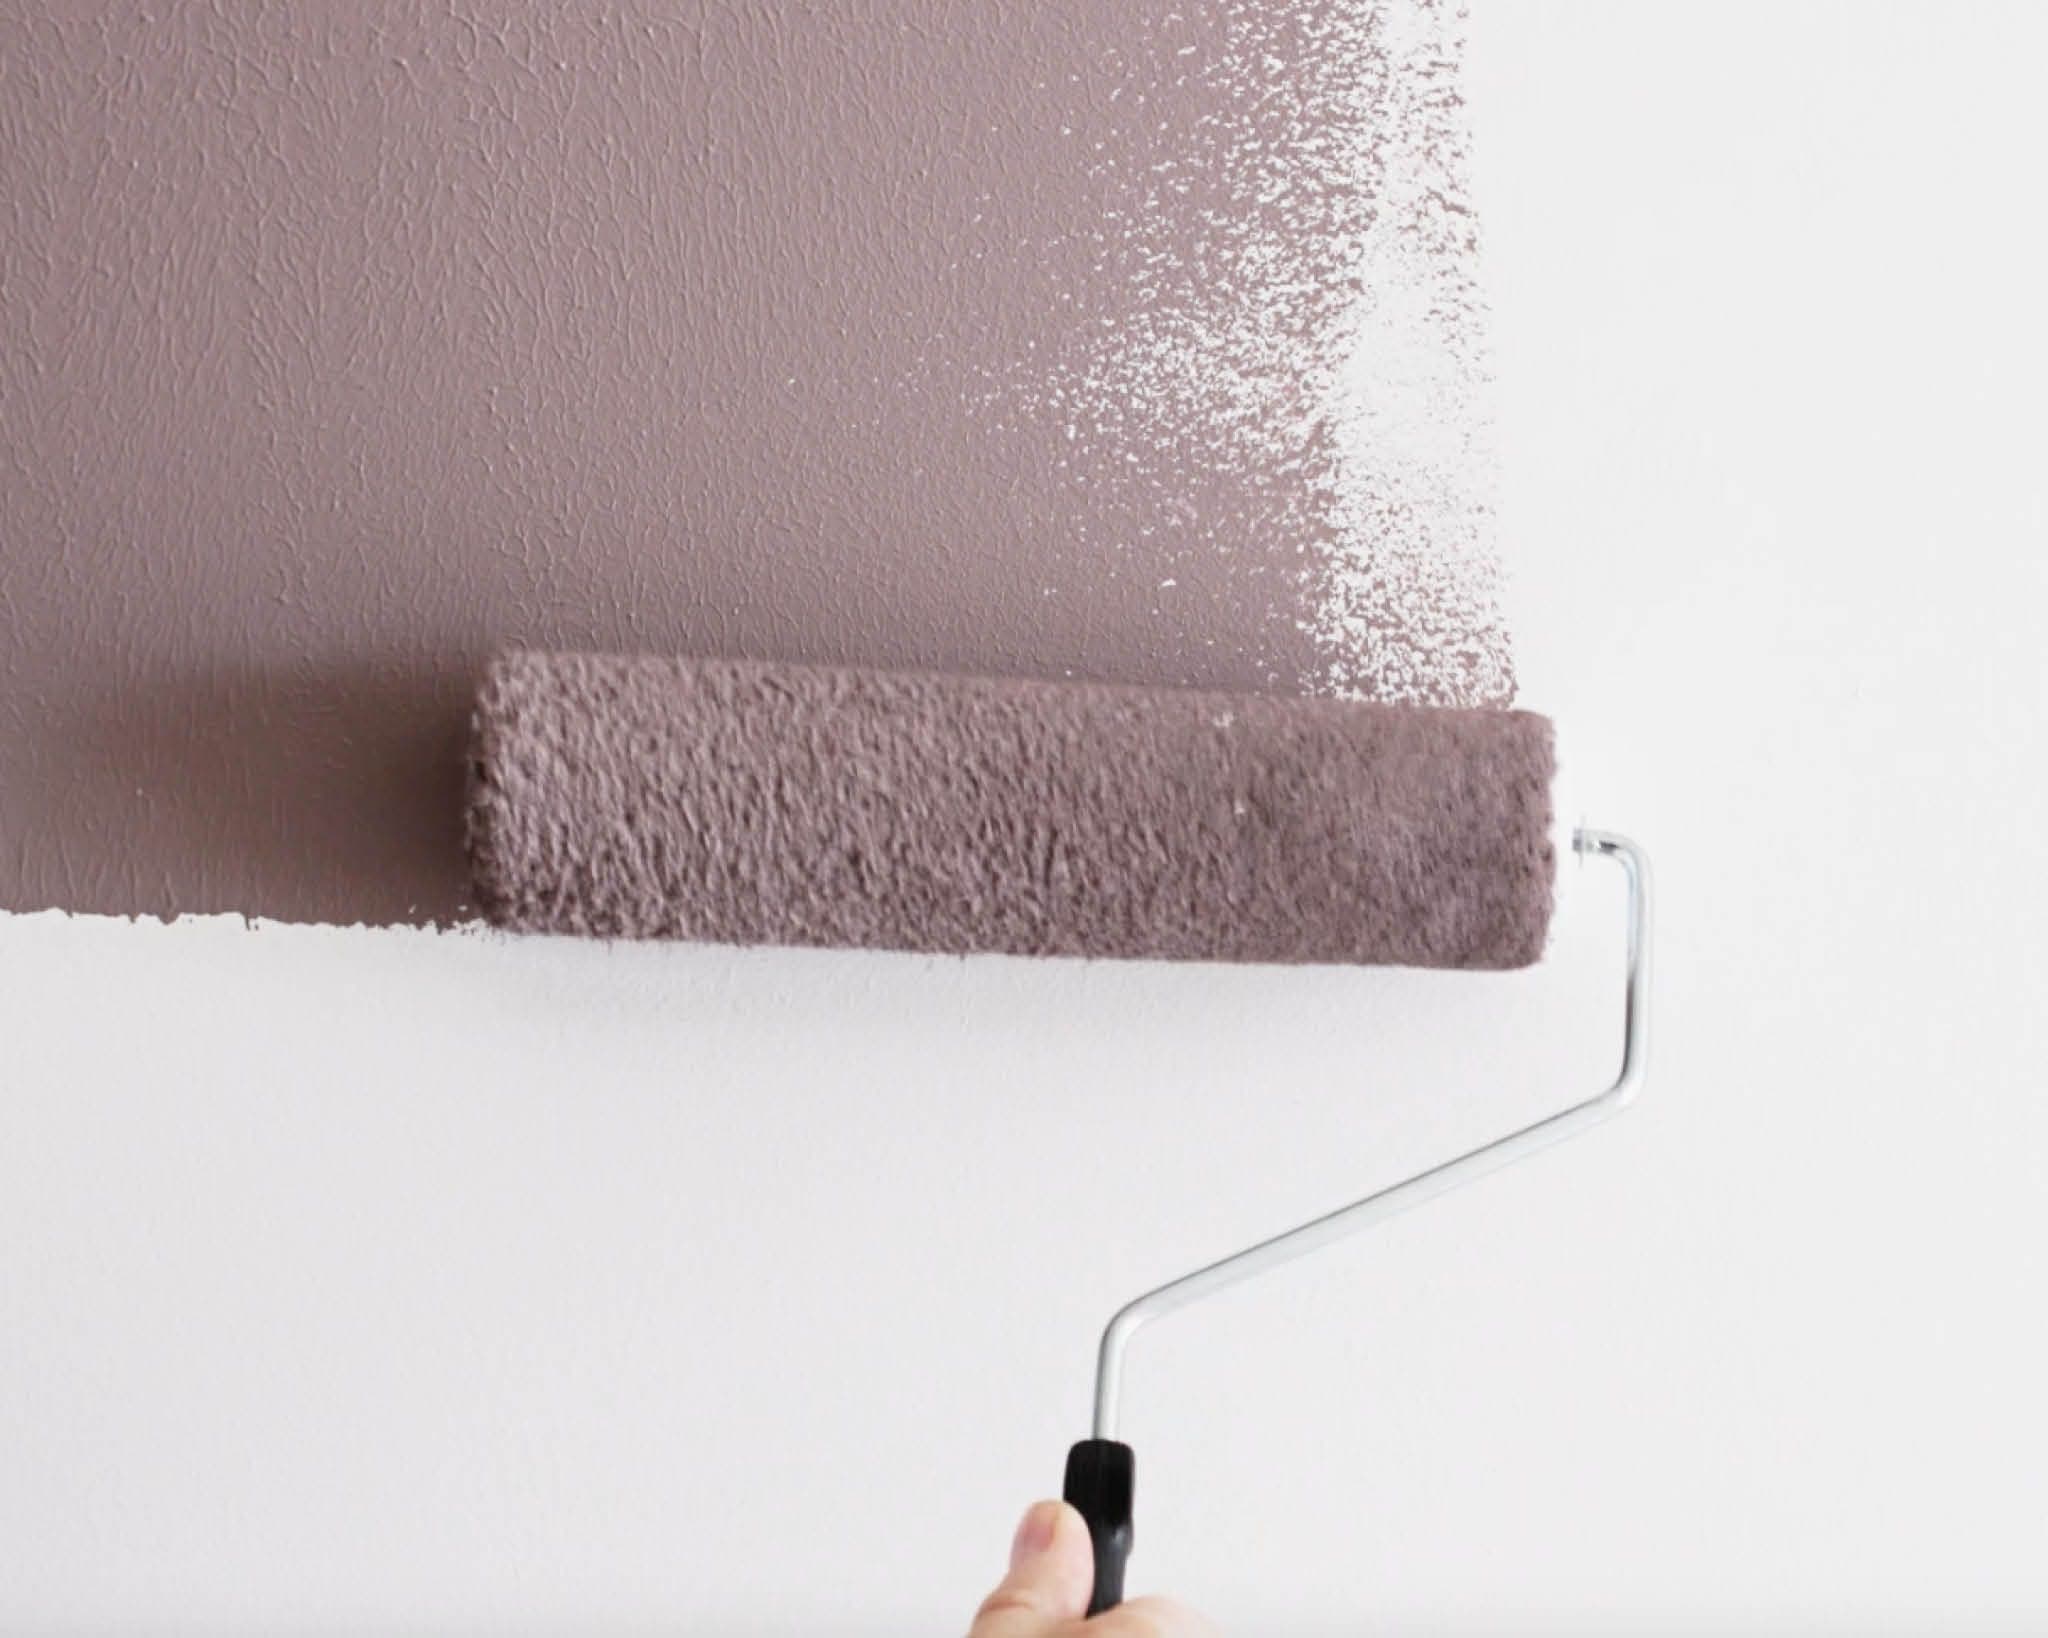
Using your roller, paint the lighter colour on the half of the wall you want it to cover, and paint slightly over the point where you want the dividing line to be. Allow the paint to dry.
Step 3: Chalk up
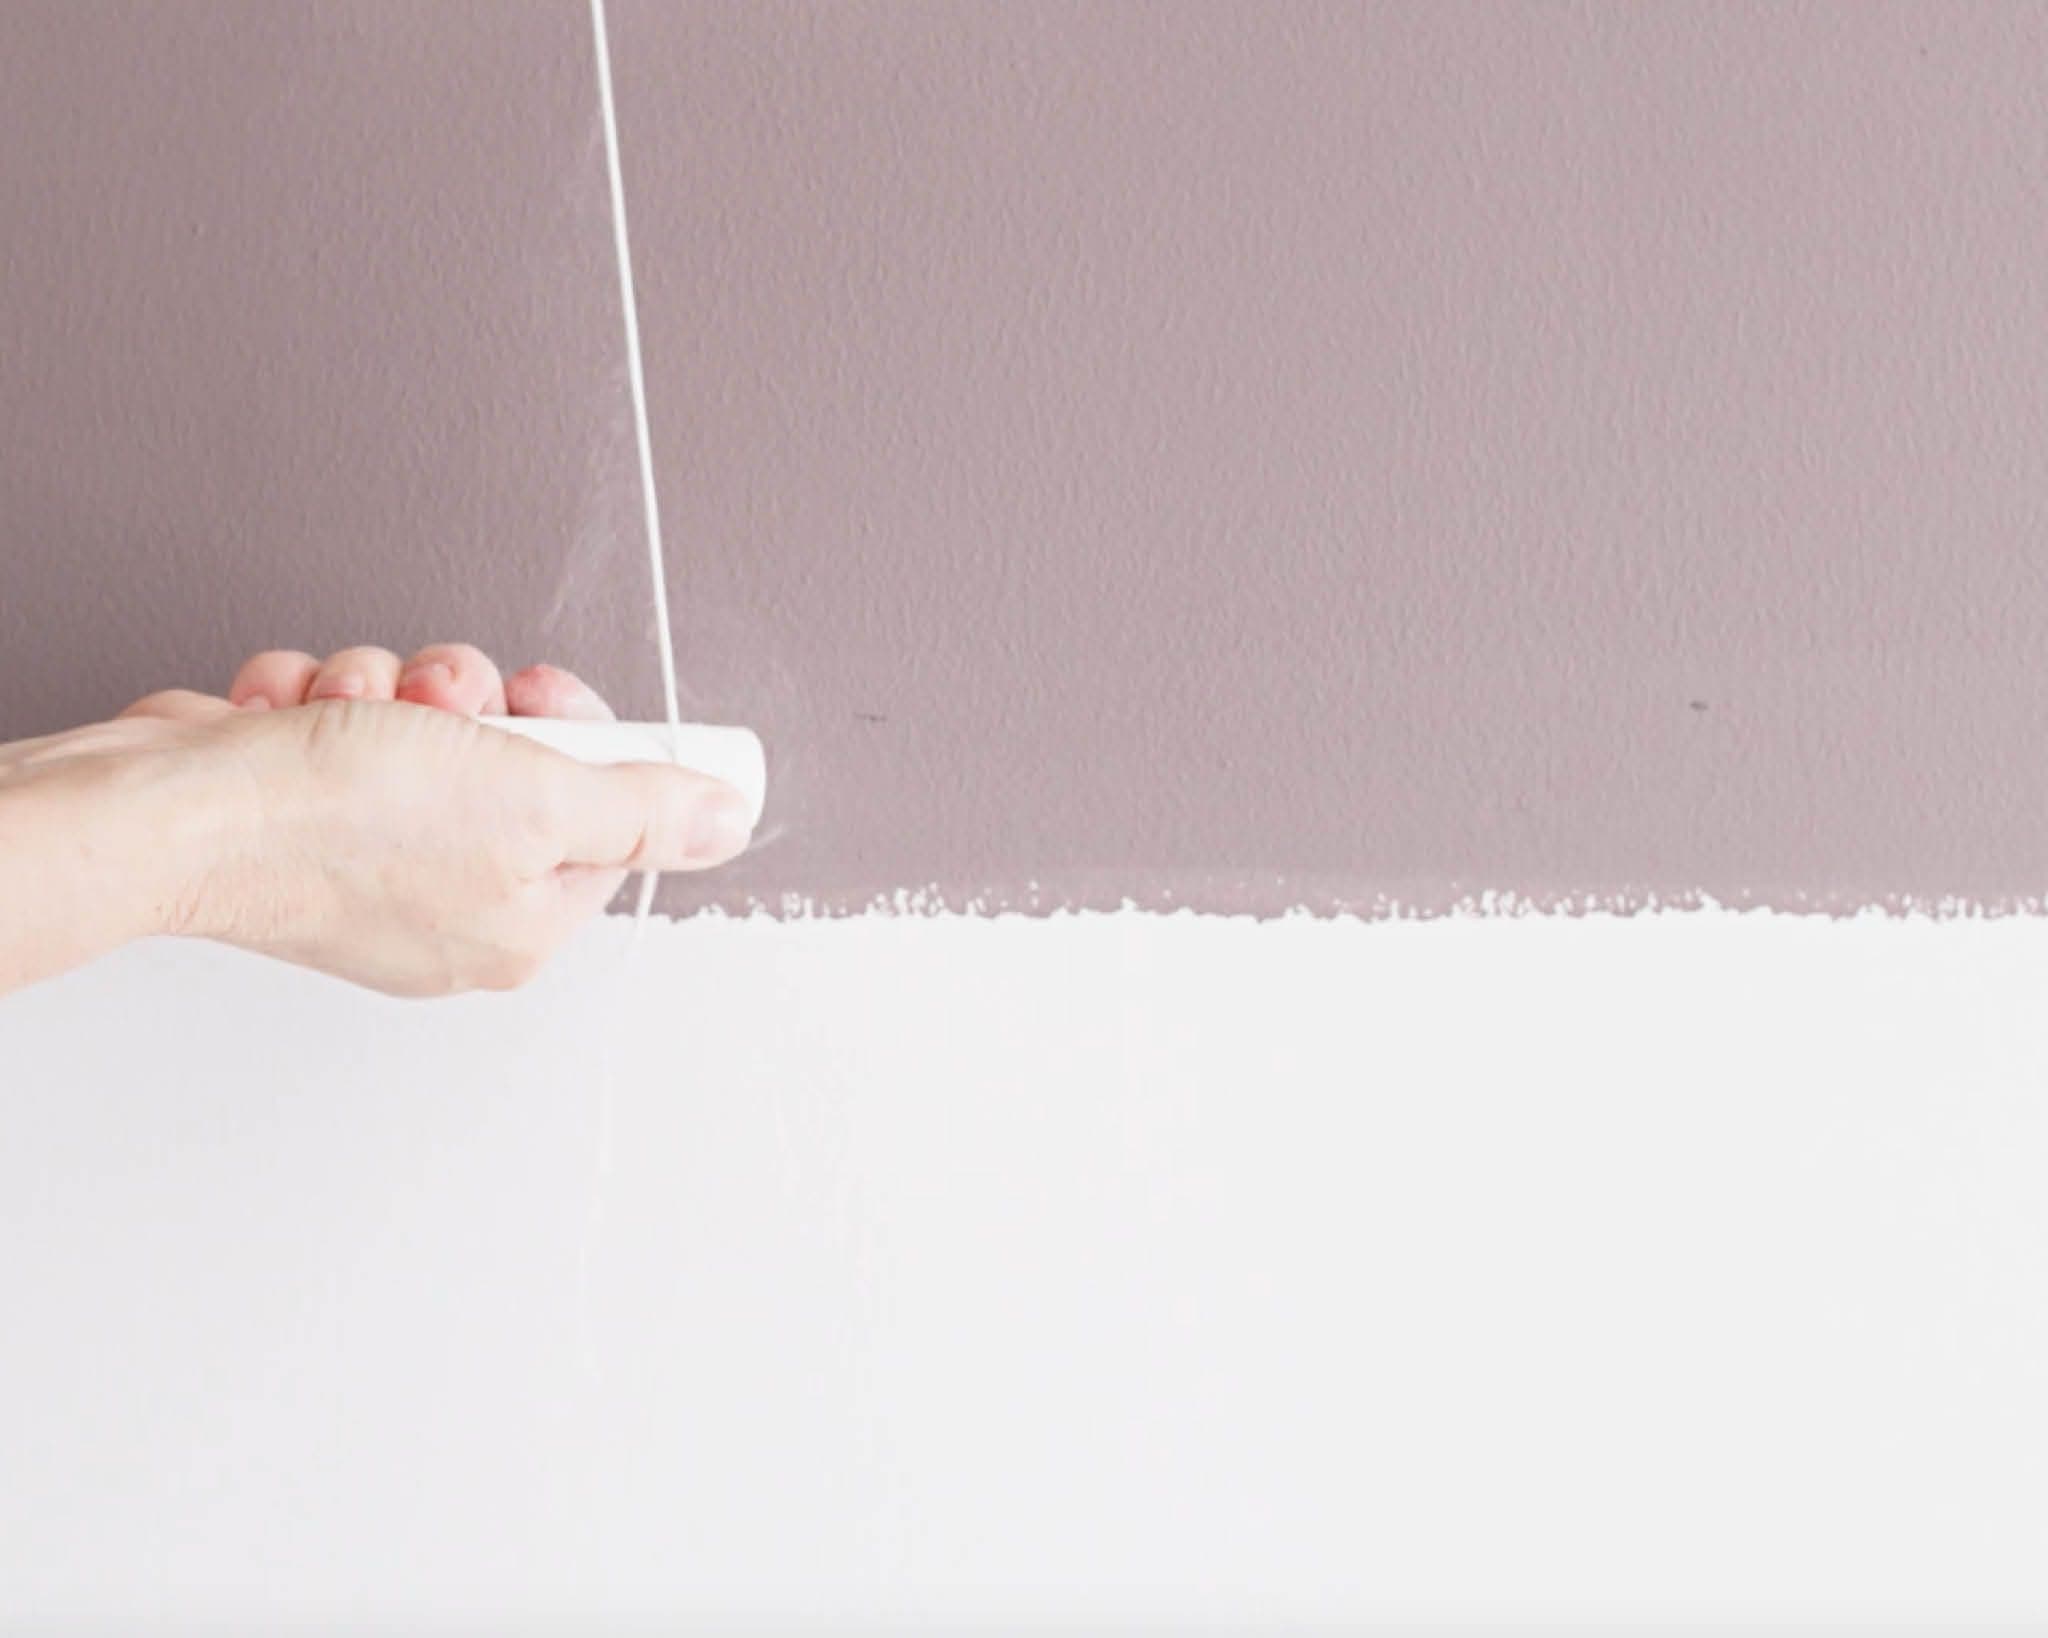
Run a length of string along the side of a piece of chalk, to cover the string with chalk. Stretch the string across the wall, connecting the points you’ve marked up in pencil. Secure the ends of the string with masking tape. Check the string is straight, then ping the string to leave a chalk line across the wall.
Step 4: Mask up
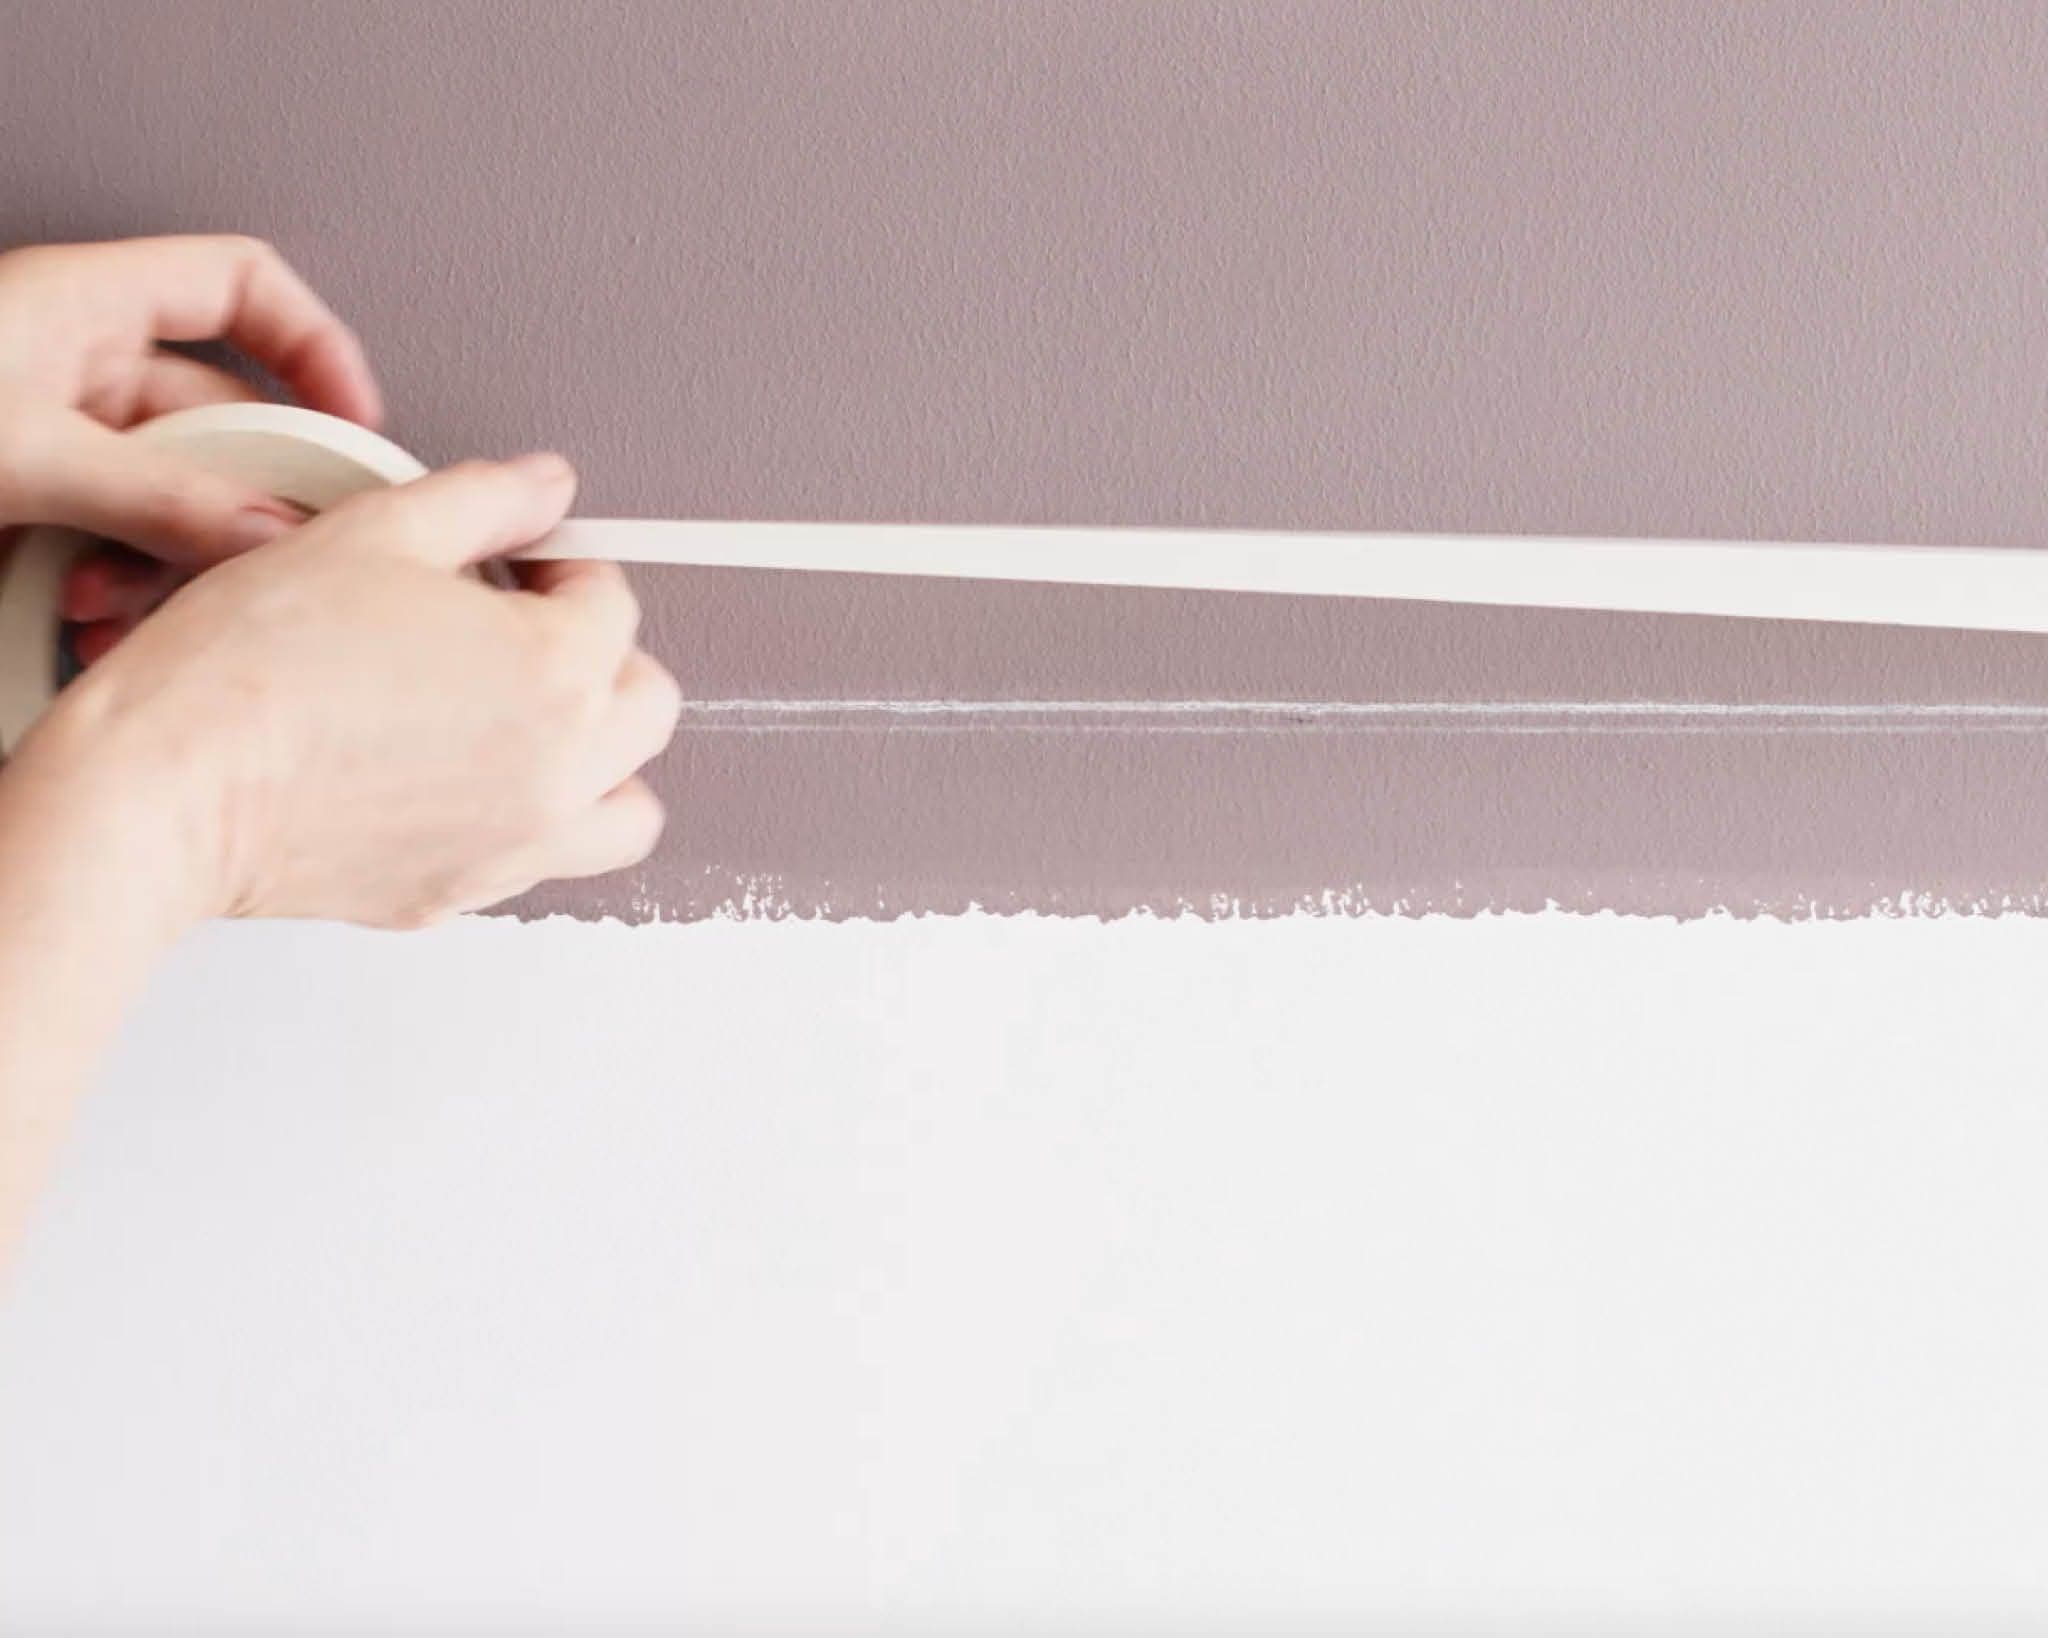
Make sure the first paint colour is completely dry. Then apply a strip of masking tape along the line of chalk.
Step 5: Apply your darker colour
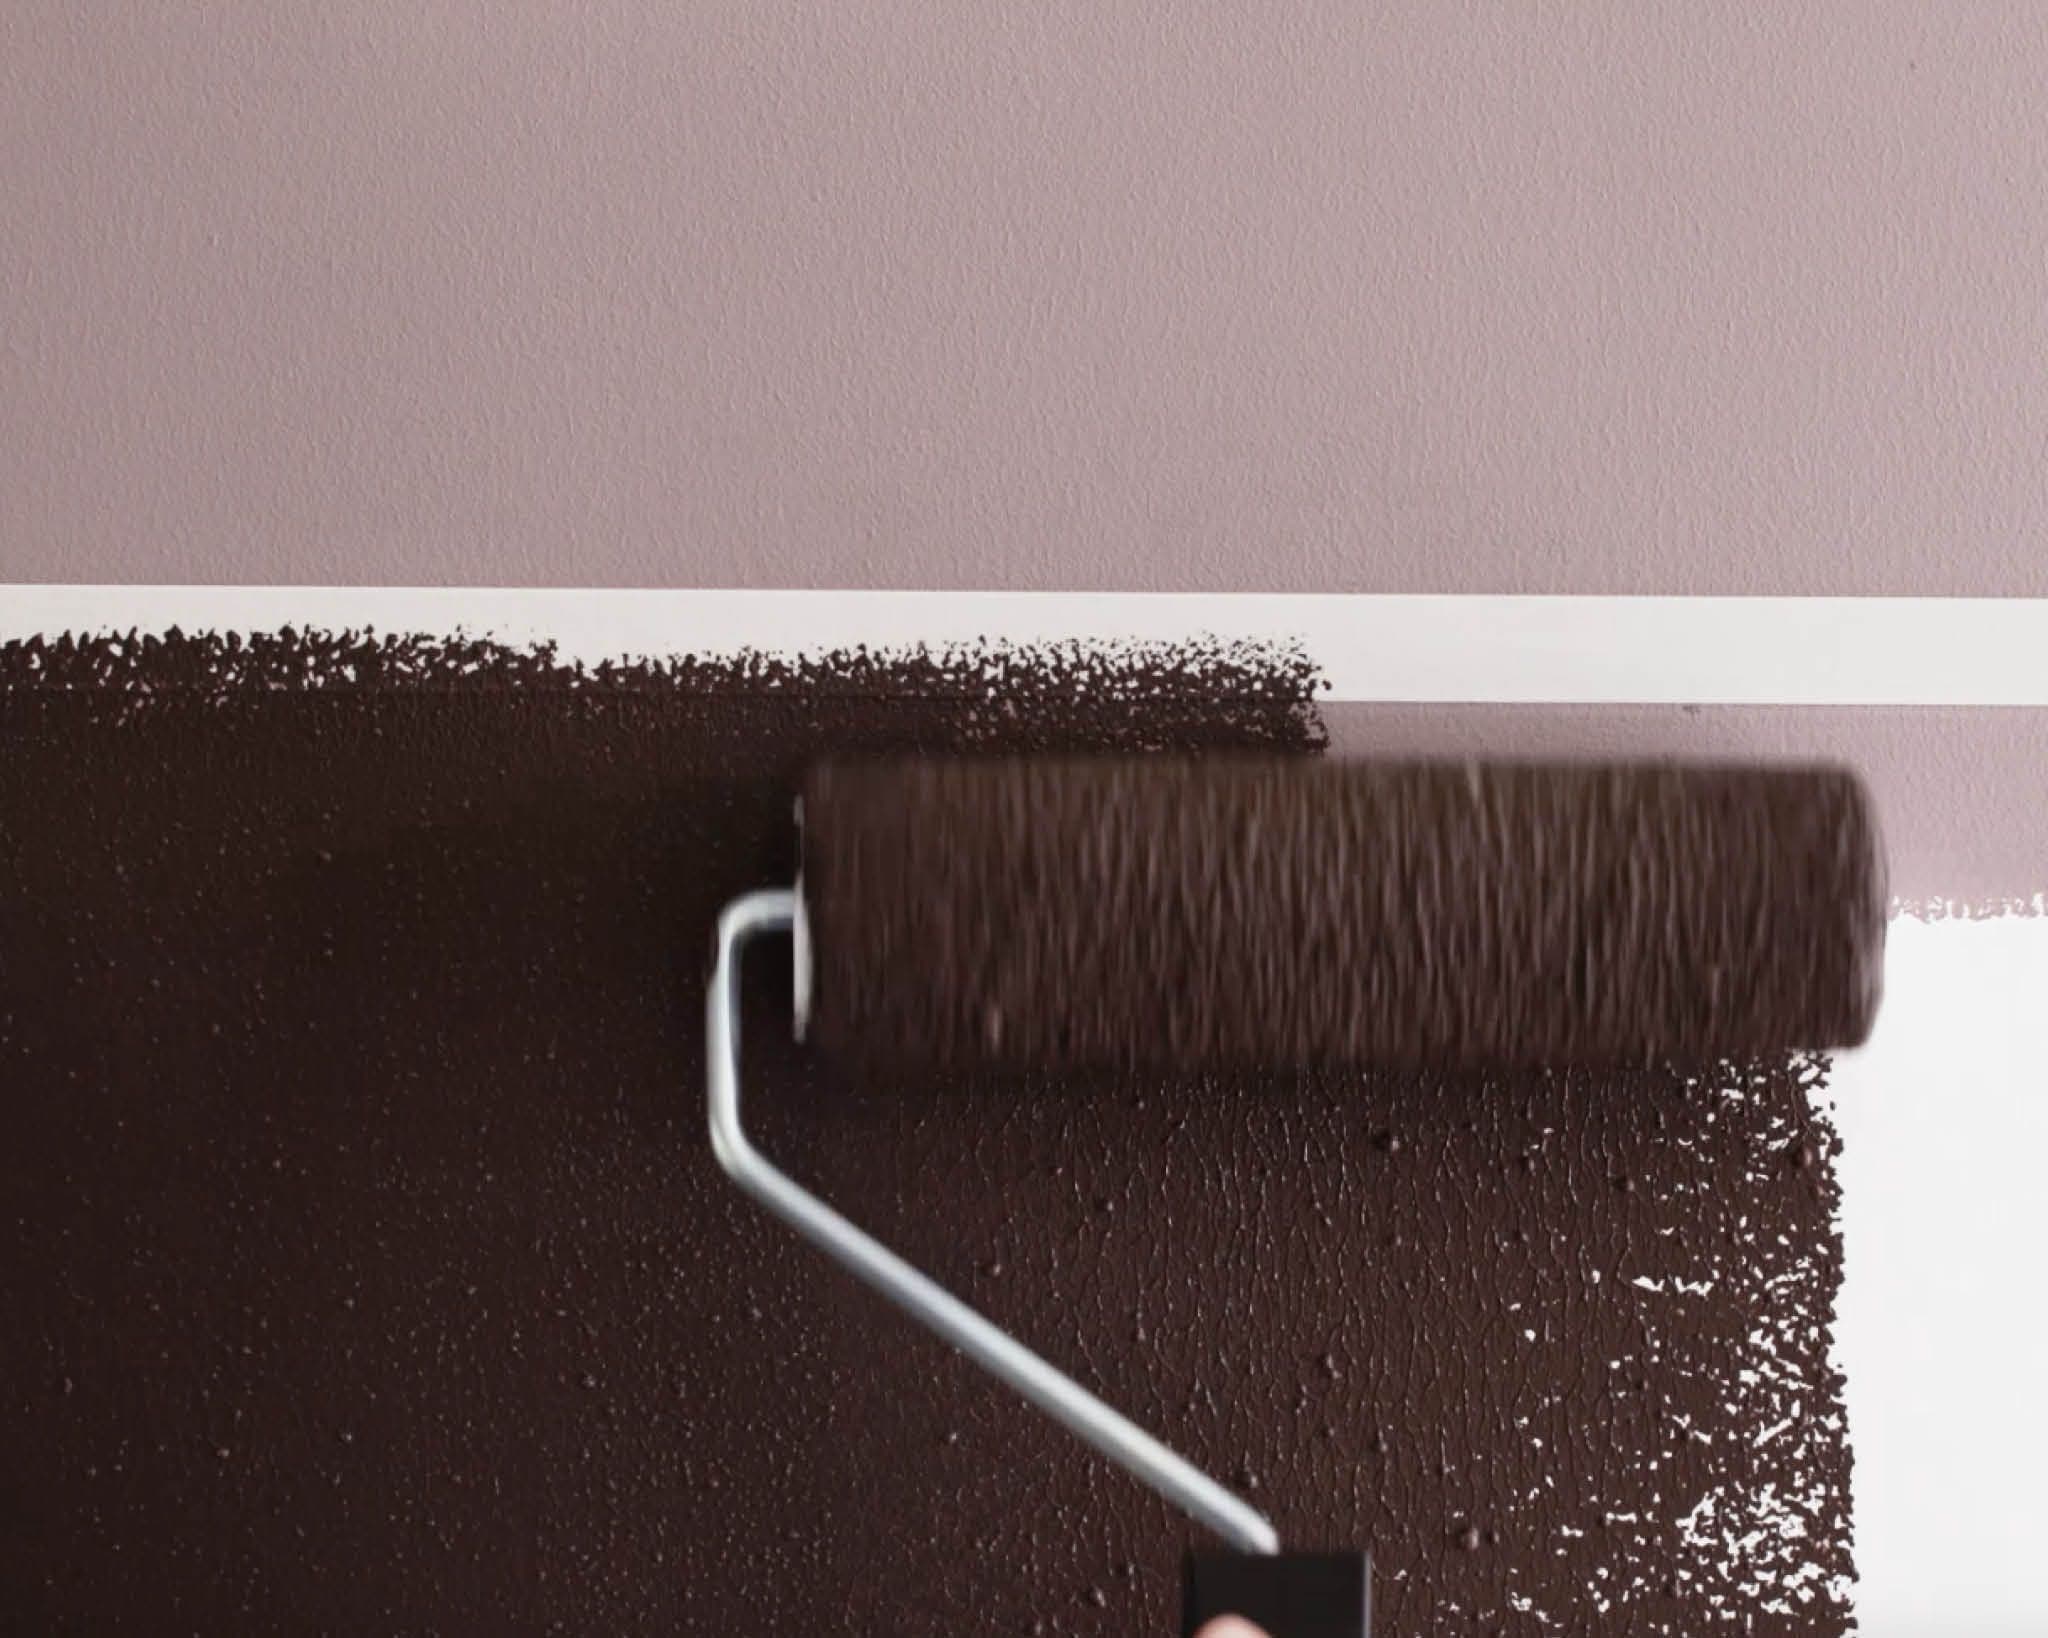
Using your roller, paint the darker colour on the second half of the wall. Use a paintbrush to make sure you’ve painted just over the edge of the masking tape.
Step 6: Unveil
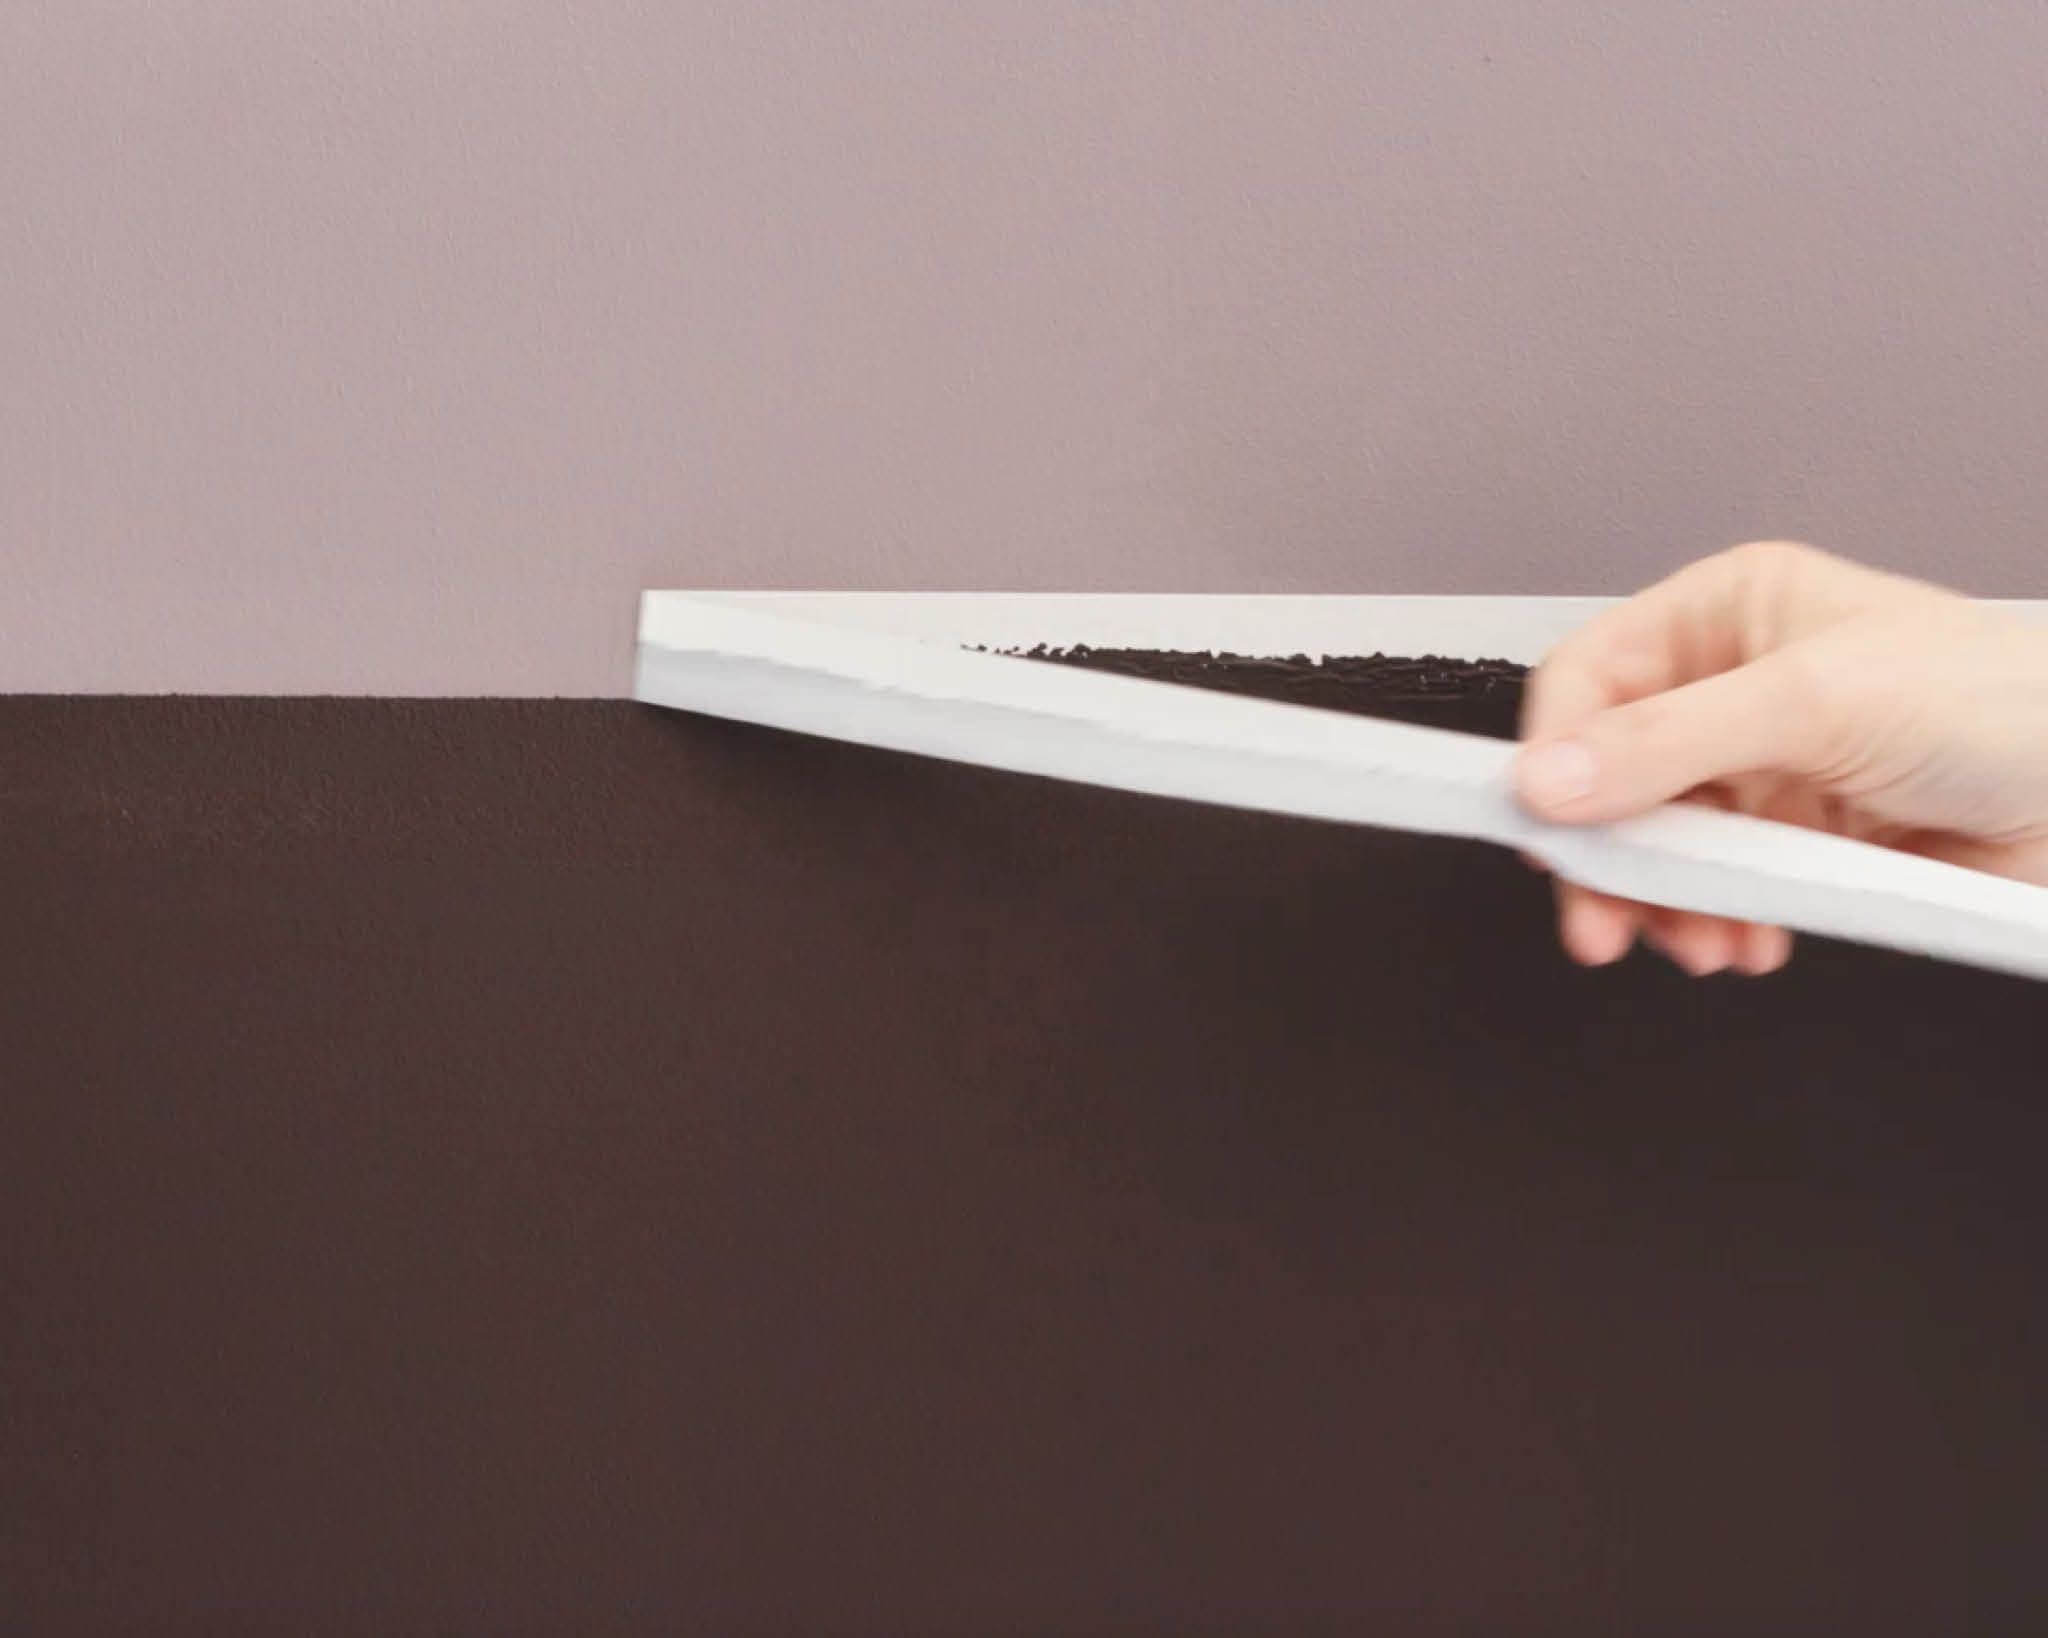
While the paint is still wet, peel off the masking tape to reveal your new two-tone wall design.


